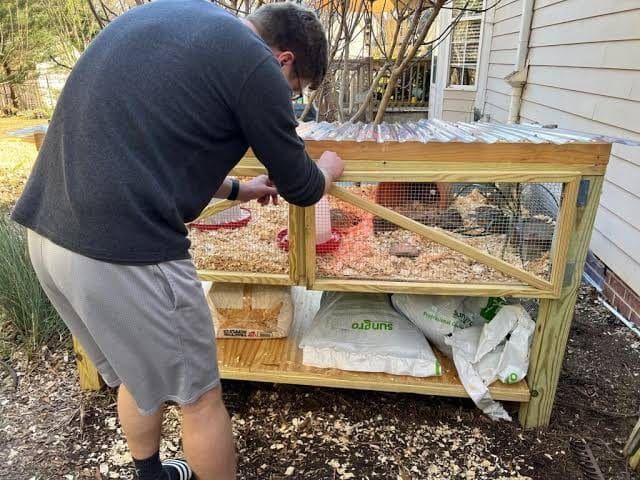
Frame a box to your plan's dimensions, skin every opening in ½-inch 19-gauge hardware cloth fastened with screws and washers, add a solid roof, a sloped wire or tray floor, and predator-grade latches. A weekend, basic tools.
Any competent flat-pack assembler can build a quail coop. The difference between a coop and a predator buffet is three specifications, all cheap, all commonly skipped.
The three no-savings zones
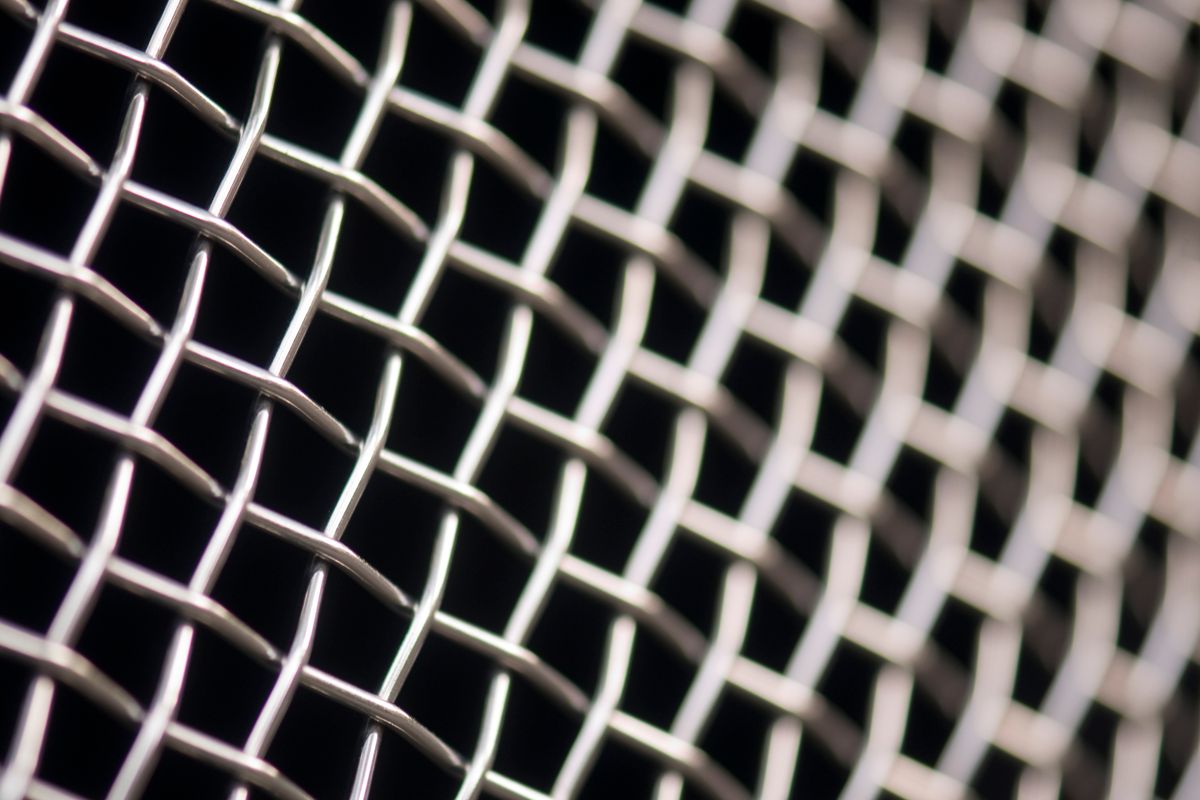
The wire. ½-inch galvanized hardware cloth, 19-gauge minimum, everywhere air passes. The reasoning is predator anatomy: the wire's job is blocking paws, snouts, and reaching arms. A raccoon works a 1-inch opening like a glovebox, and quail panicking against the walls put themselves in reach. Gauge matters as much as opening: builders repeatedly report that big-box 23-gauge in the same ½-inch weave tears under a determined raccoon or dog, if the label doesn't state the gauge, assume the thin one and walk. Chicken wire is disqualified entirely; the hexagonal stuff "keeps chickens in, not predators out" is the standard line because it's simply true.
The fastening. Staples alone pull out, a well-documented raccoon move. The spec: screws with fender washers distributing the clamp, seams overlapped onto framing (never wire butted to wire mid-air), edges wrapped around corners rather than ending at them.
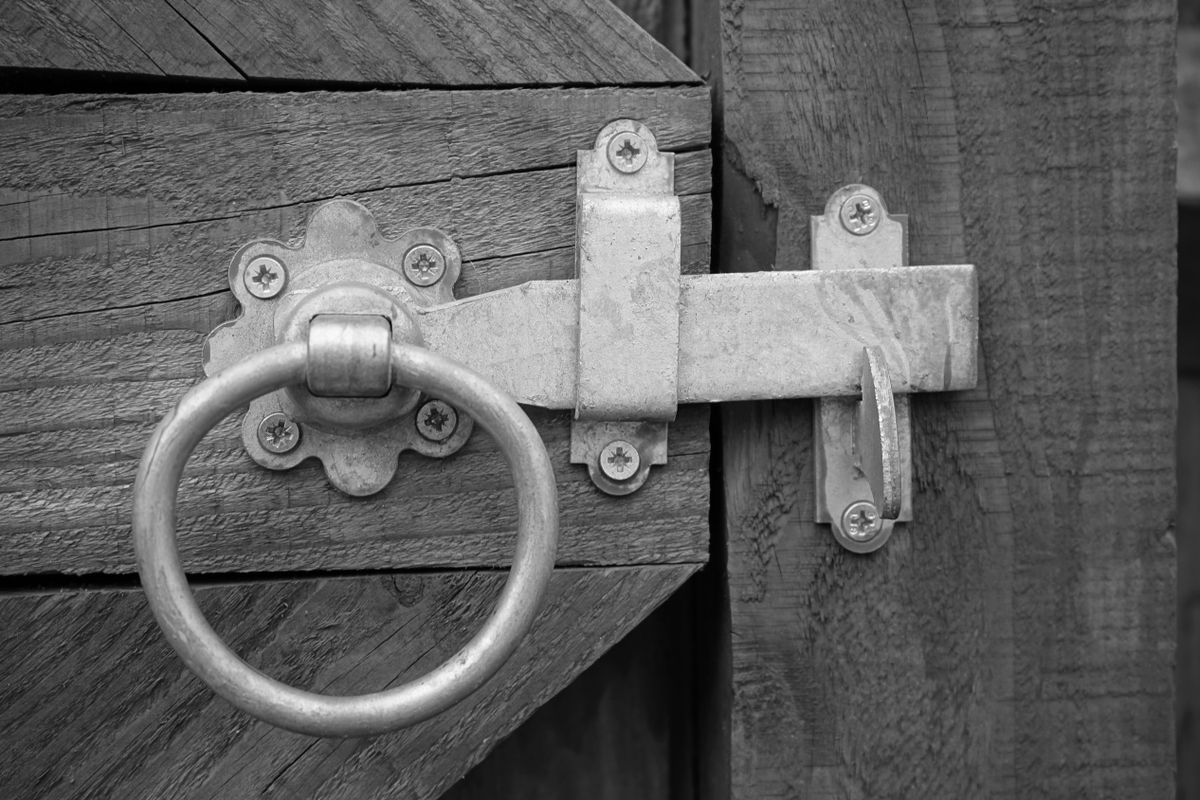
The latches. Raccoons defeat simple sliding bolts and hook-and-eyes. Two-action latches (lift-and-turn), carabiner-secured hasps, or padlocks. Every door, including the ones "nothing could reach."
The build sequence
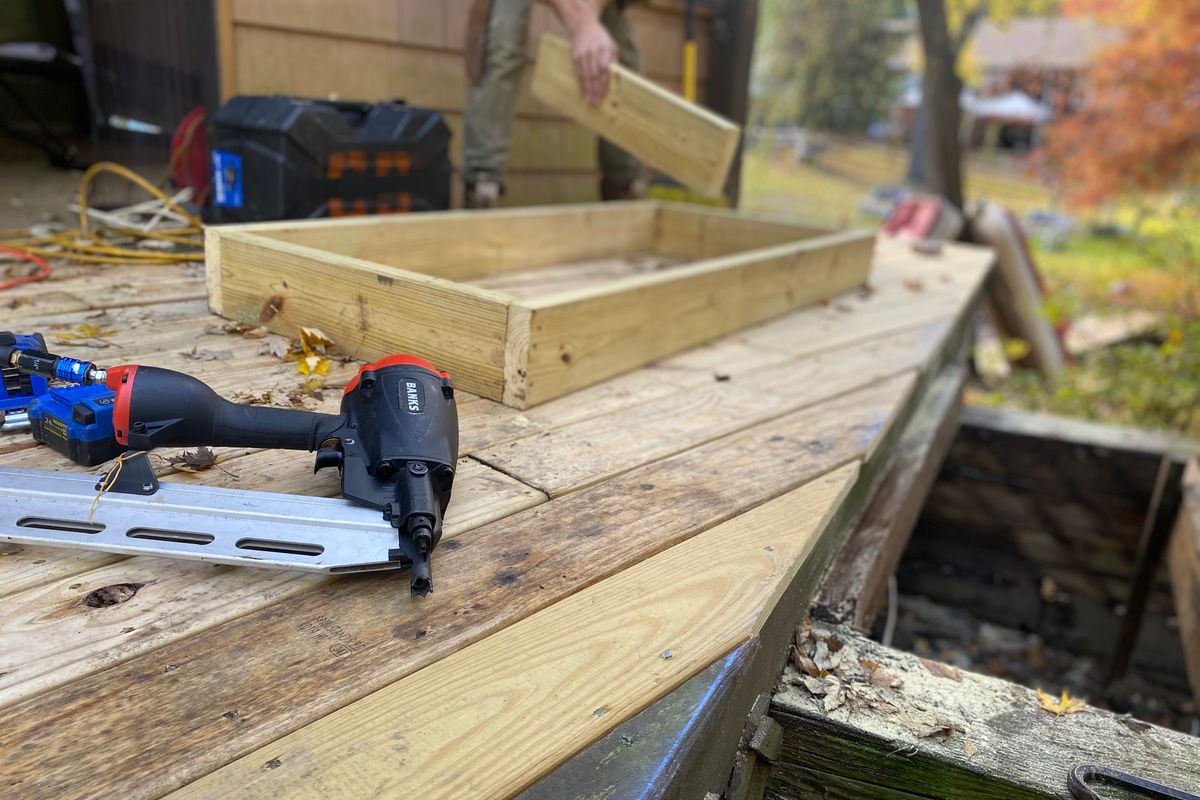
- Frame to your plan, 2×2 or 2×3 lumber for hutch scale; check square before skinning.
- Floor first: wire floors in ½×½-inch cloth (keeper consensus: droppings pass, feet supported, nothing reaches through, 1×½ is a wall mesh, not a floor mesh), sloped if you're building roll-away; or solid ply sealed for a bedding/tray setup. Make that decision before you cut.
- Skin walls and lid in the cloth, screws + washers at close centers, seams on frame.
- Roof solid and overhanging. The overhang is your rain-and-shade budget.
- Weatherboard the back and prevailing-wind side.
- Trays and furniture: slide-out dropping tray beneath wire floors; gravity feeder and waterer mounted through-wire; a hide box; dust-bath tray.
- Latch and audit: every gap under ½ inch, every edge fastened, latches two-action. Do the audit at dusk with a flashlight, and you'll see the coop the way the raccoon does.
Ground-contact builds (pens, aviaries): bare galvanized rusts fast in soil. Use PVC-coated cloth for anything buried or ground-touching, and see predator-proofing for the apron-vs-trench decision.
Tools and materials, plainly
Saw, drill, wire cutters (hardware cloth fights back. Heavy cutters and gloves are not optional comfort items), staple gun (for positioning only), screws + fender washers, lumber, cloth, roofing, latches, tray stock. Nothing exotic; the cloth is the biggest line item, and buying a full roll beats buying short lengths twice.
FAQ
Total build time?
A hutch: a real weekend. An aviary: several. The wire work is 60% of both. It's slow, finger-hostile, and exactly where quality lives.
Can I use pallet wood?
For framing, sure. Free lumber is free. Not for skimping the wire budget, which is the part with consequences.
Paint or seal?
Exterior-grade seal on wood extends life; keep finishes exterior-side and cured before birds arrive.